1日格闘してやっとできたのでメモ
Debbuger for Chromeをインストール
VSCodeの"Debbuger For Chrome"をインストールします。
package.jsonの変更
  "scripts": {
    "dev": "nuxt",
+  "dev-debug": "node --inspect-brk=9229 node_modules/nuxt/bin/nuxt",    ←追加
    "build": "nuxt build",
    "start": "nuxt start",
    "generate": "nuxt generate",
    "lint": "eslint --ext .js,.vue --ignore-path .gitignore ."
  },
nuxt.config.jsの変更
  build: {
    transpile: [/^element-ui/],
    /*
    ** You can extend webpack config here
    */
    extend (config, ctx) {  ←ここから3行追加
      config.devtool = 'inline-cheap-module-source-map'
    }
  },
Visual Stdio Codeのデバッグ構成作成
{
    // IntelliSense を使用して利用可能な属性を学べます。
    // 既存の属性の説明をホバーして表示します。
    // 詳細情報は次を確認してください: https://go.microsoft.com/fwlink/?linkid=830387
    "version": "0.2.0",
    "configurations": [
      {
        "type": "chrome",
        "request": "launch",
        "name": "Launch Chrome",
        "url": "http://localhost:3000",
        "webRoot": "${workspaceFolder}",
      },
      {
        "type": "node",
        "request": "launch",
        "name": "Launch via NPM",
        "runtimeExecutable": "npm",
        "runtimeArgs": [
          "run-script",
          "dev-debug"
        ],
        "sourceMaps": true,
        "port": 9229
      },
    ],
    "compounds": [
      {
        "name": "Full-stack",
        "configurations": ["Launch via NPM", "Launch Chrome"]
      }
  ]
}
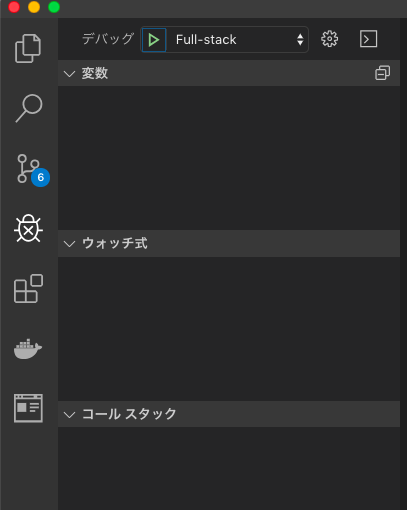
デバッグウインドウからFull-stackを実行すれば、Chromeが起動する。 起動したばっかりだと、ビルドが間に合わず404ページが出るかも。リロードすると、画面が表示できる。
